The Ultimate Renovation Defect Inspection Checklist for Singapore Homeowners
The defect inspection is your last line of defence before signing off on your renovation. Miss a defect now and you may be paying to fix it yourself later. This comprehensive checklist covers every area of your renovated home.
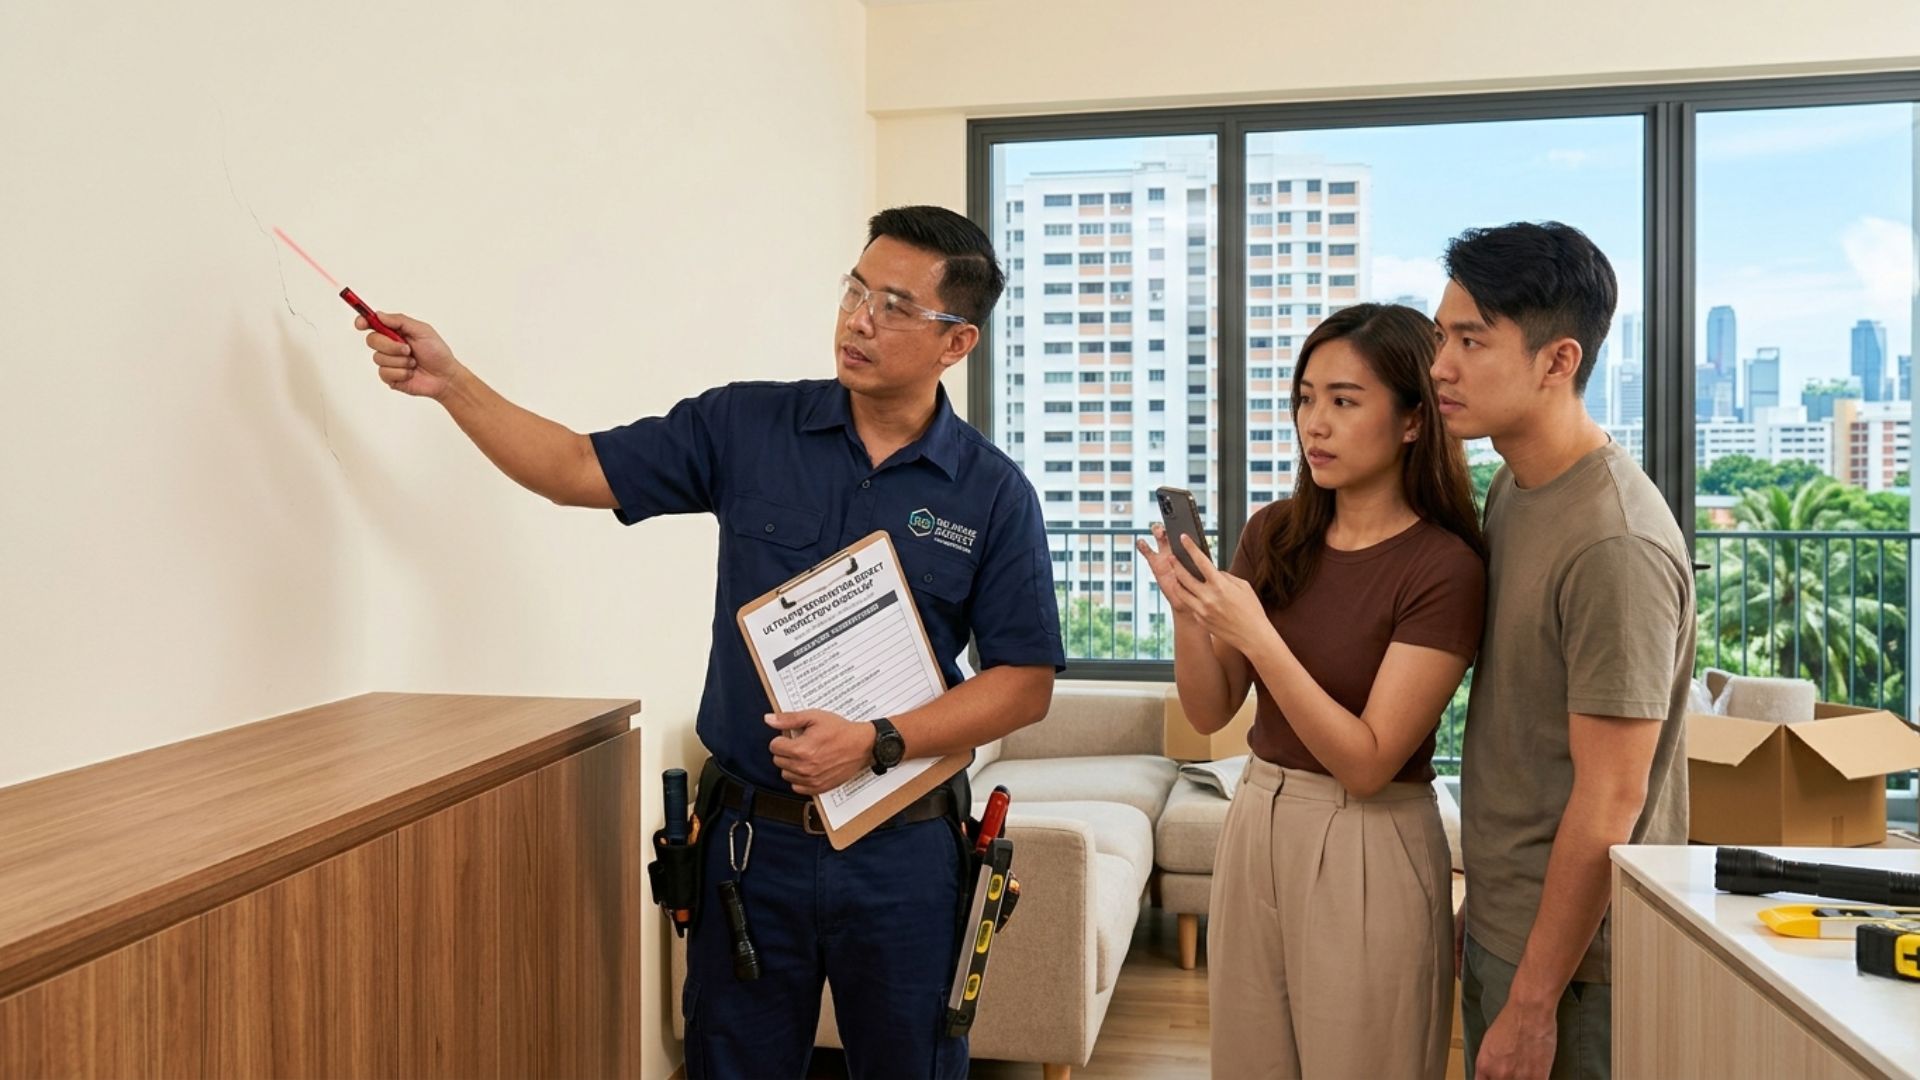
Carpentry Inspection Open and close every wardrobe door, kitchen cabinet, and drawer. Check that soft-close mechanisms work smoothly and that doors align properly when closed. Run your hand along laminate surfaces feeling for bubbles, peeling edges, or rough spots. Check that handles and knobs are secure and level. Inspect the interior of cabinets for rough edges, splinters, or unfinished surfaces. Electrical Inspection Test every power point with a phone charger or small appliance. Flip every light switch to confirm the correct light responds. Check that all lights produce consistent colour temperature, as mixed batches of LEDs can look noticeably different. Test dimmer switches through their full range. Verify that the distribution board is labelled correctly so you know which circuit controls which area. Plumbing and Waterproofing Turn on every tap and flush every toilet. Check water pressure in all fixtures simultaneously (running multiple taps at once). Look under every sink for leaks after 5 minutes of running water. Check that the bathroom floor slopes toward the drain by pouring water and watching it flow. If your contractor performed a ponding test, request the photo documentation. Tiling and Flooring Tap tiles with a coin or small hammer. A hollow sound indicates poor adhesion and potential future cracking. Check grout lines for consistency in width and colour. Inspect tile edges and corners for chips. For vinyl flooring, look for lifting edges, visible seams, and consistent colour across planks. Walk the entire floor barefoot feeling for unevenness. Paint and Finishing Inspect walls under both natural daylight and artificial light, as imperfections visible in one lighting condition may be invisible in another. Look for drip marks, uneven patches, and paint on surfaces where it should not be such as window frames and power point covers. Check that different paint colours have clean, straight boundaries. How to Document Defects Use blue painter’s tape to mark each defect location directly on the surface. Take a photo of each marked defect. Create a written list with location, description, and photo reference for each item. Share this list with your designer in writing and agree on a rectification timeline, typically 1 to 2 weeks for minor items and 2 to 4 weeks for items requiring replacement materials. Common Trap: Do not let your excitement about moving in rush the defect inspection. A thorough inspection takes 2 to 3 hours for a 4-room flat. Bring a friend or family member for a second pair of eyes. Defects found after handover are much harder to get rectified. Download the Reno Research App → Our Tasks feature includes a built-in defect inspection checklist customised to your renovation scope. Track defects, share them with your designer, and mark them resolved, all in one place.
Planning a renovation?
Get matched with vetted firms that fit your budget and style — free.
Get matched